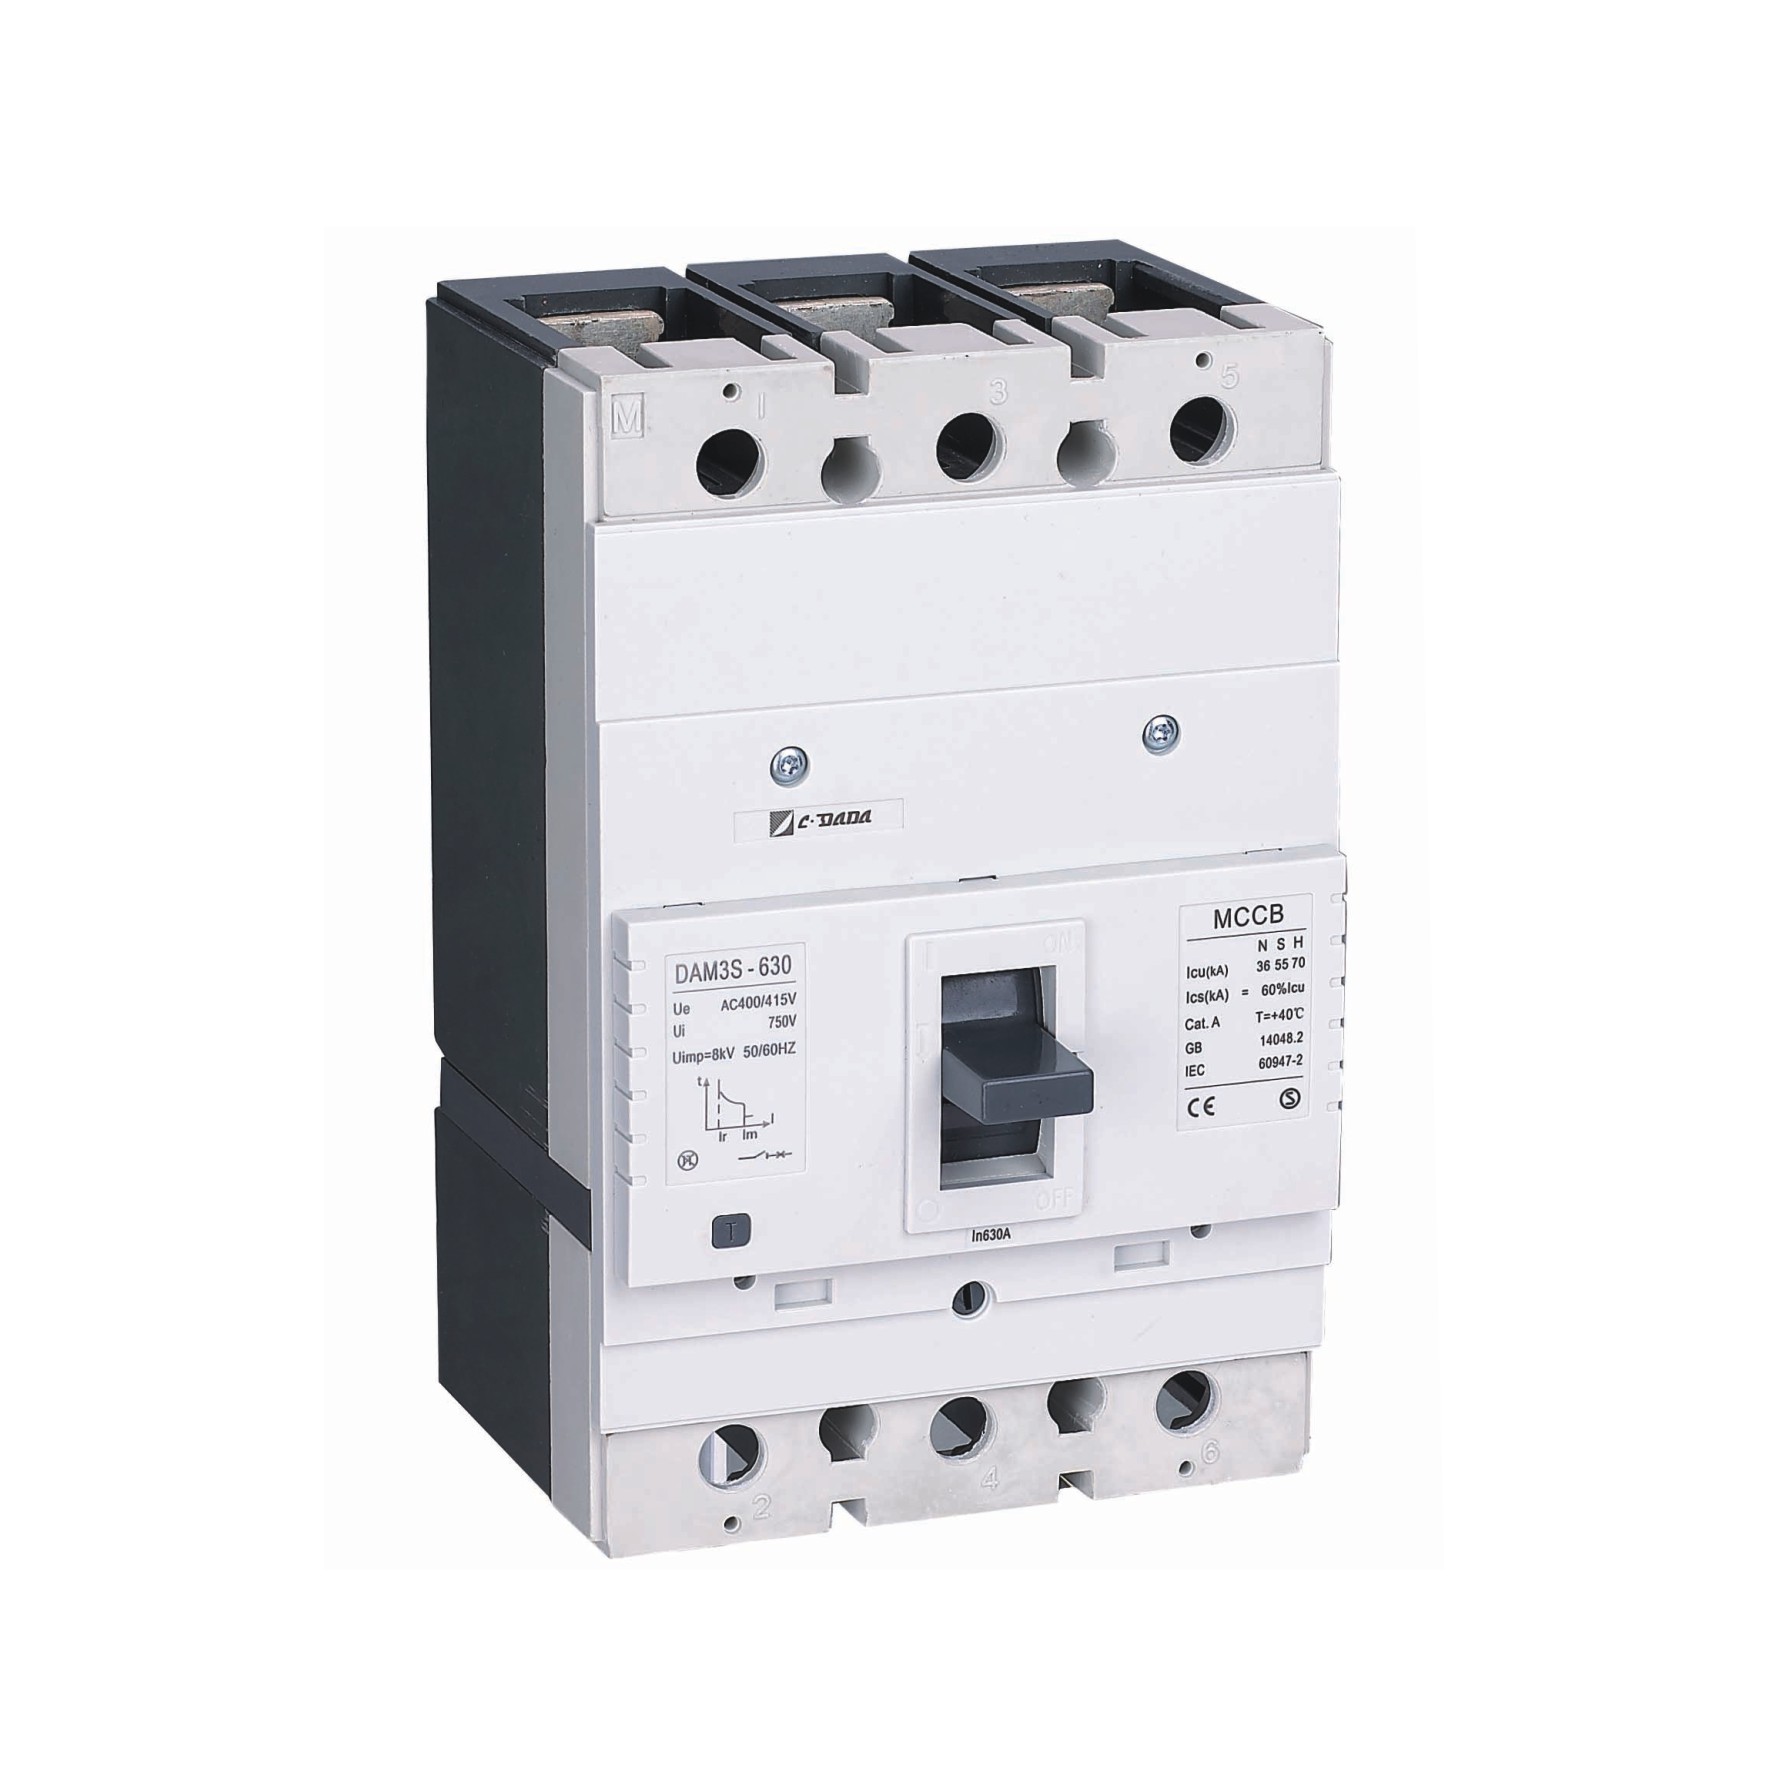
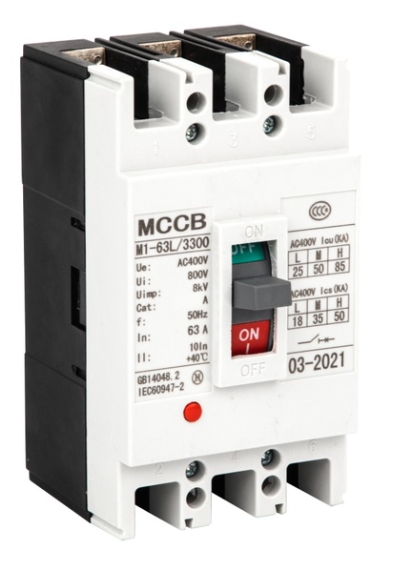
Installing a Molded Case Circuit Breaker (MCCB) is a task that requires both electrical knowledge and attention to safety. MCCBs are widely used in power distribution systems to protect circuits from overloads and short circuits. Whether you're upgrading a panel or setting up a new installation, following the correct steps ensures reliable operation and long-term system safety.
Before you begin any installation work, always make sure the power supply is turned off. Use a voltage tester to verify that the system is de-energized. Wear personal protective equipment (PPE), such as insulated gloves and safety glasses, to reduce the risk of electric shock.
Also, review the relevant electrical codes in your region (e.g., IEC, NEC), and ensure the installation environment is dry, clean, and free from conductive dust or moisture.

Choosing the correct MCCB is the foundation of a safe installation. Consider the following when selecting your device:
Rated current and voltage
Trip unit type (thermal-magnetic or electronic)
Breaking capacity
Mounting and connection compatibility
Refer to the manufacturer’s datasheet to ensure that the selected MCCB matches your system’s needs.
Once you've selected the right breaker, it's time to mount it.
For fixed installation, position the MCCB directly onto the panel or mounting plate using screws.
Ensure the breaker is aligned properly and tightened securely.
Allow enough space around the MCCB for ventilation and wiring.
For plug-in or withdrawable types, additional mounting bases and alignment steps will apply (see section 5).
Now connect the cables to the MCCB:
Identify the line side (incoming power) and load side (outgoing to the circuit).
Strip the insulation to the correct length and insert wires into the terminals.
Use a torque wrench to tighten the terminal screws according to the manufacturer's recommended values.
Loose or overtightened connections can cause overheating and device failure, so this step is critical.
MCCBs come with different mounting options. Here’s how each works:
This is the most common and straightforward method. The MCCB is directly fastened to the panel, and cables are wired manually. However, to remove or replace the breaker, you'll need to disconnect all wiring and power down the system.
In this method, the MCCB plugs into a fixed base installed on the panel. Power cables are connected to the base, not the breaker. This allows for quicker removal without disturbing the wiring—ideal for systems that may need frequent replacement of breakers.
Withdrawable systems are designed for easy removal using a sliding mechanism. They’re typically used in higher-current applications, where replacing a breaker needs to be fast, safe, and require minimal manual effort. This method also minimizes downtime during maintenance.

Before re-energizing the system:
Double-check all connections
Verify that the MCCB settings match the application (e.g., trip current, time delay)
Perform a manual ON/OFF test
Conduct a trip test (if applicable) to confirm proper operation
Routine maintenance helps extend the lifespan of your MCCB:
Inspect for signs of overheating, discoloration, or dust buildup
Tighten terminals periodically
Check mechanical operation and trip function
Replace the unit if it shows wear or if tripping becomes unreliable
For withdrawable or plug-in types, make sure the contacts remain clean and well-aligned.
Installing an MCCB breaker correctly is not just about placing a device in a cabinet—it’s about ensuring your system runs safely, efficiently, and with minimal downtime. By choosing the right breaker, using the correct installation method, and performing routine maintenance, you can protect your electrical system for years to come.
If you're working on a complex project or handling high-current circuits, consider consulting with a certified electrician or referring to detailed manufacturer guidelines.